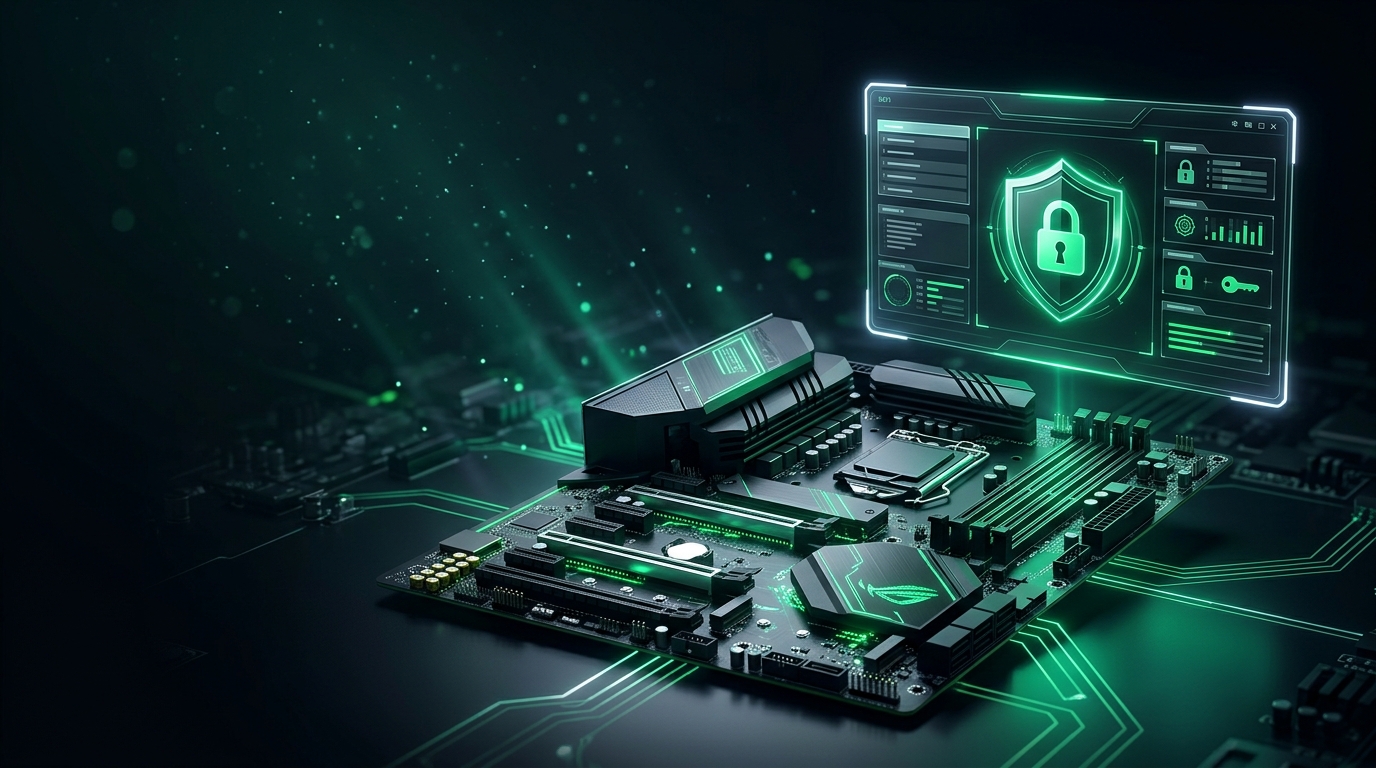
How to Enable Secure Boot in MSI BIOS for Windows 11
Updated Published
On this page
If a game blocks you with a “Secure Boot is not enabled” or anti-cheat error on your MSI rig, the fix is to enable Secure Boot in BIOS. Modern anti-cheats — Valorant (Vanguard), Fortnite, Call of Duty / Warzone (Ricochet), and Faceit — now require Secure Boot on Windows 11. Here’s how to do it on MSI boards.
Written for MSI motherboards (MEG, MPG, MAG, PRO) on modern UEFI BIOS. Use the brand-specific guide if you have another board. Secure Boot pairs with TPM 2.0 — see How to Enable TPM in MSI BIOS for Windows 11 if you haven’t enabled it.
Quick checklist before you touch BIOS
- Back up important data first.
- Confirm your drive is GPT, not MBR — Secure Boot needs UEFI + GPT.
- Connect keyboard and monitor directly (no remote access).
- Update Windows so anti-cheat services detect the change.
Step 1 – Check whether Secure Boot is already on
- Press
Win + R, typemsinfo32, press Enter. - Check BIOS Mode (UEFI) and Secure Boot State (On).
If BIOS Mode is Legacy, convert to UEFI/GPT first. If it’s UEFI but Secure Boot is Off, just flip the BIOS setting below.
Step 2 – Enter the MSI BIOS
- Fully shut down your PC.
- Power on and repeatedly tap
Delat the MSI logo. - Press F7 to switch from EZ Mode to Advanced Mode.
Step 3 – Disable CSM
Secure Boot won’t enable while CSM is active.
- Go to Settings → Advanced → Windows OS Configuration.
- Set BIOS CSM/UEFI Mode to UEFI (disable CSM).
If Windows stops booting afterward, your drive is MBR. Boot into Windows and run mbr2gpt /validate then mbr2gpt /convert from an elevated command prompt, then retry.
Step 4 – Enable Secure Boot on MSI
- Go to Settings → Advanced → Windows OS Configuration → Secure Boot.
- Set Secure Boot Support to Enabled.
- Set Secure Boot Mode to Standard so the board uses its built-in keys.
- If the toggle is locked, choose Enroll all Factory Default keys and confirm.
Step 5 – Save and reboot correctly
- Press F10 to Save & Exit.
- Confirm Secure Boot Support = Enabled and CSM is off (UEFI mode).
- Select Yes and boot into Windows.
Step 6 – Verify Secure Boot in Windows 11
- Press
Win + R, typemsinfo32, press Enter. - Confirm Secure Boot State: On and BIOS Mode: UEFI.
Restart your game — Vanguard, Ricochet, and EAC checks should pass.
Troubleshooting on specific MSI lineups
MEG / MPG (high-end)
Everything is exposed under Settings → Advanced → Windows OS Configuration. Set UEFI mode, then Secure Boot Support: Enabled, Mode: Standard.
MAG / PRO (mainstream)
These sometimes ship in CSM mode. Switch to UEFI, convert the drive to GPT if needed, then enable Secure Boot.
Secure Boot stays greyed out
This means CSM is still on or keys are missing. Confirm UEFI mode, set Secure Boot Mode to Standard, and use Enroll all Factory Default keys.
Does Secure Boot affect gaming performance?
No. Secure Boot only validates the boot chain at startup — no FPS or latency cost in Fortnite, Apex Legends, or Warzone. It just allows modern anti-cheats to run.
Pair this with:
- How to Enable TPM in MSI BIOS for Windows 11
- How to Minimize Input Delay for Competitive Gaming
- The Ultimate Guide to Timer Resolution for Gaming + Tier1Timer
Summary – MSI Secure Boot for Windows 11
- Set BIOS CSM/UEFI Mode to UEFI under Windows OS Configuration.
- Set Secure Boot Support to Enabled and Mode to Standard.
- Enroll factory default keys if greyed out.
- Verify with
msinfo32→ Secure Boot State: On.
Once enabled, your MSI PC passes the Secure Boot checks Valorant, Fortnite, and Call of Duty require — with zero performance loss.
Frequently asked questions
Where is Secure Boot in MSI Click BIOS 5?
Settings → Advanced → Windows OS Configuration → Secure Boot. Set Secure Boot Support to Enabled and Secure Boot Mode to Standard. CSM must be off (BIOS CSM/UEFI Mode set to UEFI) first.
Why is Secure Boot greyed out in my MSI BIOS?
CSM is still active or Secure Boot keys are missing. Set BIOS CSM/UEFI Mode to UEFI, set Secure Boot Mode to Standard, and use Enroll all Factory Default keys.
What MSI BIOS settings does Windows 11 need?
UEFI boot mode with CSM disabled, Secure Boot Support Enabled (Settings → Advanced → Windows OS Configuration), and TPM 2.0 via Security Device Support under Settings → Security → Trusted Computing.
Does Secure Boot lower FPS on MSI boards?
No. Secure Boot only validates the boot chain at startup, so there is no FPS or input latency cost in-game — it simply lets anti-cheats like Vanguard and Ricochet run.